No products in the basket.
Have you ever admired celebrities and friends’ perfect and long-lasting acrylic nails? You might be surprised that you can achieve this salon-quality look at home! Anyone can master acrylic nail application with the appropriate instructions.
This blog briefly introduces the fantastic world of acrylic nails. We will review the key tools you need, proper nail preparation techniques, and how to apply acrylic tips for a perfect finish. With simple directions and helpful hints, you’ll be well on your way to crafting magnificent acrylic nails that will be a source of pride and respect.
Benefits of acrylic nail tips
Acrylic nail tips offer many benefits that can enhance the look of your nails. Moreover, it also creates an impact on your day-to-day life. Some of the many advantages that acrylic nail tips offer for beginners include:

Strength and durability:
Acrylic nail tips are renowned for their toughness. They protect natural nails from chips, cracks, and everyday wear and tear. This is a game-changer for those with naturally weak or brittle nails that struggle to grow.
Length and Design Freedom:
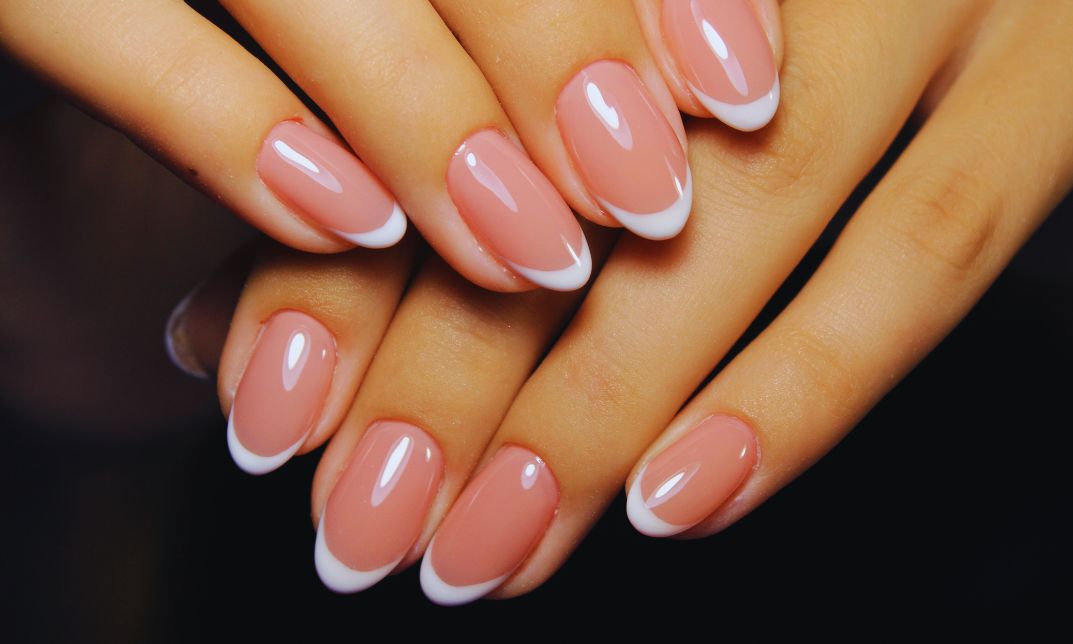
Acrylic nail tips come in various lengths and shapes. White acrylic nail tips are among the most popular in the world. They allow you to customise your look to your heart’s content. Additionally, the smooth surface of acrylics provides the perfect canvas for unleashing your creativity with nail art designs.
Convenience and Time-Saving:
Acrylic nails offer a long-lasting solution. With proper care, they can last up to 5-6 weeks. They also eliminate the need for frequent manicures, which translates to significant time savings and reduced costs compared to maintaining natural nails.
Affordability:
Acrylic nail tips are usually more cost-effective than other nail enhancements, like gel overlays or salon-applied extensions. Investing in a good-quality acrylic nail kit for beginners can achieve salon-like results without spending as much. Moreover, acrylic nails need minimal upkeep, which helps you save money on maintenance expenses.
Breaking the Nail Biting Habit:
Acrylics can be a powerful barrier for those struggling to stop the nail-biting habit. Their sheer toughness makes them significantly less tempting to chew on. Thus, it allows your natural nails to grow healthy and strong.
Confidence Boost:
There’s something undeniably satisfying about having beautiful, well-maintained nails. Acrylics can add a touch of glamour and polish to your everyday look, giving you a confidence boost that shines through.
Tools and supplies needed for beginners to get acrylic nail tips
To start your acrylic nail journey, you’ll need some key items to make it a success. Here’s what you’ll need:
- Acrylic Liquid and Powder: The liquid acts as a binder, while the powder creates the structure and colour of your nails. Beginners might find clear powder the easiest to work with for practice.
- Acrylic Nail Tips: These come in various shapes and sizes to match your natural nails or desired look. Opt for natural-looking tips for your first attempt, allowing you to focus on the application technique.
- Nail Glue: This secures the acrylic tip with your natural nail bed. Choose a strong-bonding glue specifically formulated for acrylic nails.
- Nail Dehydrator: This tool helps remove excess moisture from the nail plate, ensuring better adhesion of the acrylic and reducing the risk of lifting or peeling.
- Acrylic Nail Cutter and File: You’ll need clippers to trim your natural nails and a file to shape the acrylic tips after application. Therefore, an acrylic nail cutter and file are necessary for applying acrylic nail tips.
- Nail Buffer: A nail buffer is a tool used to smooth and shine the surface of the nails. It typically consists of multiple abrasive surfaces or pads.
- Cuticle Pusher: Gently pushing back your cuticles creates a clean application surface and helps prevent the acrylics from lifting. A wooden pusher offers more control for beginners.
- Acrylic Nail Brush (Liquid and Powder): A high-quality brush designed for acrylic application is crucial. You’ll need two brushes – one for applying the liquid and another for the powder.
- UV or LED Lamp: If using gel polish or top coat, a UV or LED lamp is necessary for curing and drying the polish, ensuring a long-lasting and chip-resistant finish.
Steps of applying acrylic nail tips
There are several steps for acrylic nail application. The following steps are given below so that you don’t have to face any problems:
- Prepare the natural nails by cleaning and shaping them.
- Apply nail primer to promote adhesion.
- Select the correct size of acrylic nail tips for each nail.
- Apply nail adhesive to the underside of the acrylic tip.
- Press the acrylic tip onto the natural nail, holding it firmly in place.
- Trim and shape the acrylic tip to the desired length and shape using a nail file.
- Polish the surface of the acrylic tip to smooth out any rough edges.
- Apply acrylic liquid and powder mixture to the nail bed, starting from the cuticle area and working towards the tip.
- Use a nail brush to spread and shape the acrylic mixture evenly.
- Let the acrylic dry and harden completely.
- Once dry, file and shape the acrylic nails to achieve the desired look.
- Apply a top coat for added shine and protection.
- Cleanse the nails to remove any residue or excess acrylic.
- Moisturise the hands and nails to keep them hydrated and healthy.
Common Issues and After-Tips
- Common Issues: Beginners may face many common issues after using acrylic nail tips. Some of the problems are discussed below:
- Lifting: Acrylic nails may lift from the natural nail if not applied correctly or if moisture gets trapped underneath.
- Yellowing or Discoloration: Exposure to certain chemicals or prolonged sun exposure can cause acrylic nails to become yellow or discoloured over time.
- Nail Infections: Improper hygiene or damage to the nail bed can lead to bacterial or fungal infections. The nail may discolour, thicken, and crumble at the edge as the fungal infection goes deeper.
- Aftercare Tips: Beginners need to follow the aftercare tips so that their hard work doesn’t go in vain. Here are some aftercare tips given below:
- Avoid Water Exposure: Limit prolonged exposure to water, as it can weaken the bond between the acrylic and natural nail, leading to lifting.
- Regular Fills and Touch-ups: Schedule regular fills every 2-3 weeks to maintain the appearance of your acrylic nails and prevent lifting.
- Gentle Removal: When removing your acrylic nails, avoid peeling or picking them off, as this can damage the natural nail. Instead, soak them in acetone or visit a professional nail technician for safe removal.
- Moisturise Regularly: To prevent dryness and cracking, hydrate your nails and cuticles by applying daily nourishing cuticle oil or hand cream.
- Protective Measures: To keep your hands healthy, wear gloves whenever you use harsh chemicals or work with a lot of moisture.


