No products in the basket.
Have you ever looked at your floor and thought about giving it a fresh, new look? Tiling a floor can seem daunting, especially if you are new to it. However, with the right guidance and a bit of patience, you can transform your space with ease. Therefore, this blog will guide you through the process step-by-step, ensuring you have the confidence to tackle your tiling project. Moreover, we will cover essential tools, preparation steps, and the tiling process itself. By the end, you will understand how to tile a floor for beginners effectively and efficiently.
Why Tile Your Floor?
Before diving into the process, let’s consider why tiling might be the right choice for your floor. Tiles are durable, easy to clean, and available in a variety of styles. Hence, they are a popular choice for both aesthetic and practical reasons. Furthermore, tiling can increase the value of your home, making it a worthwhile investment.

What Are the Tools and Materials Needed?
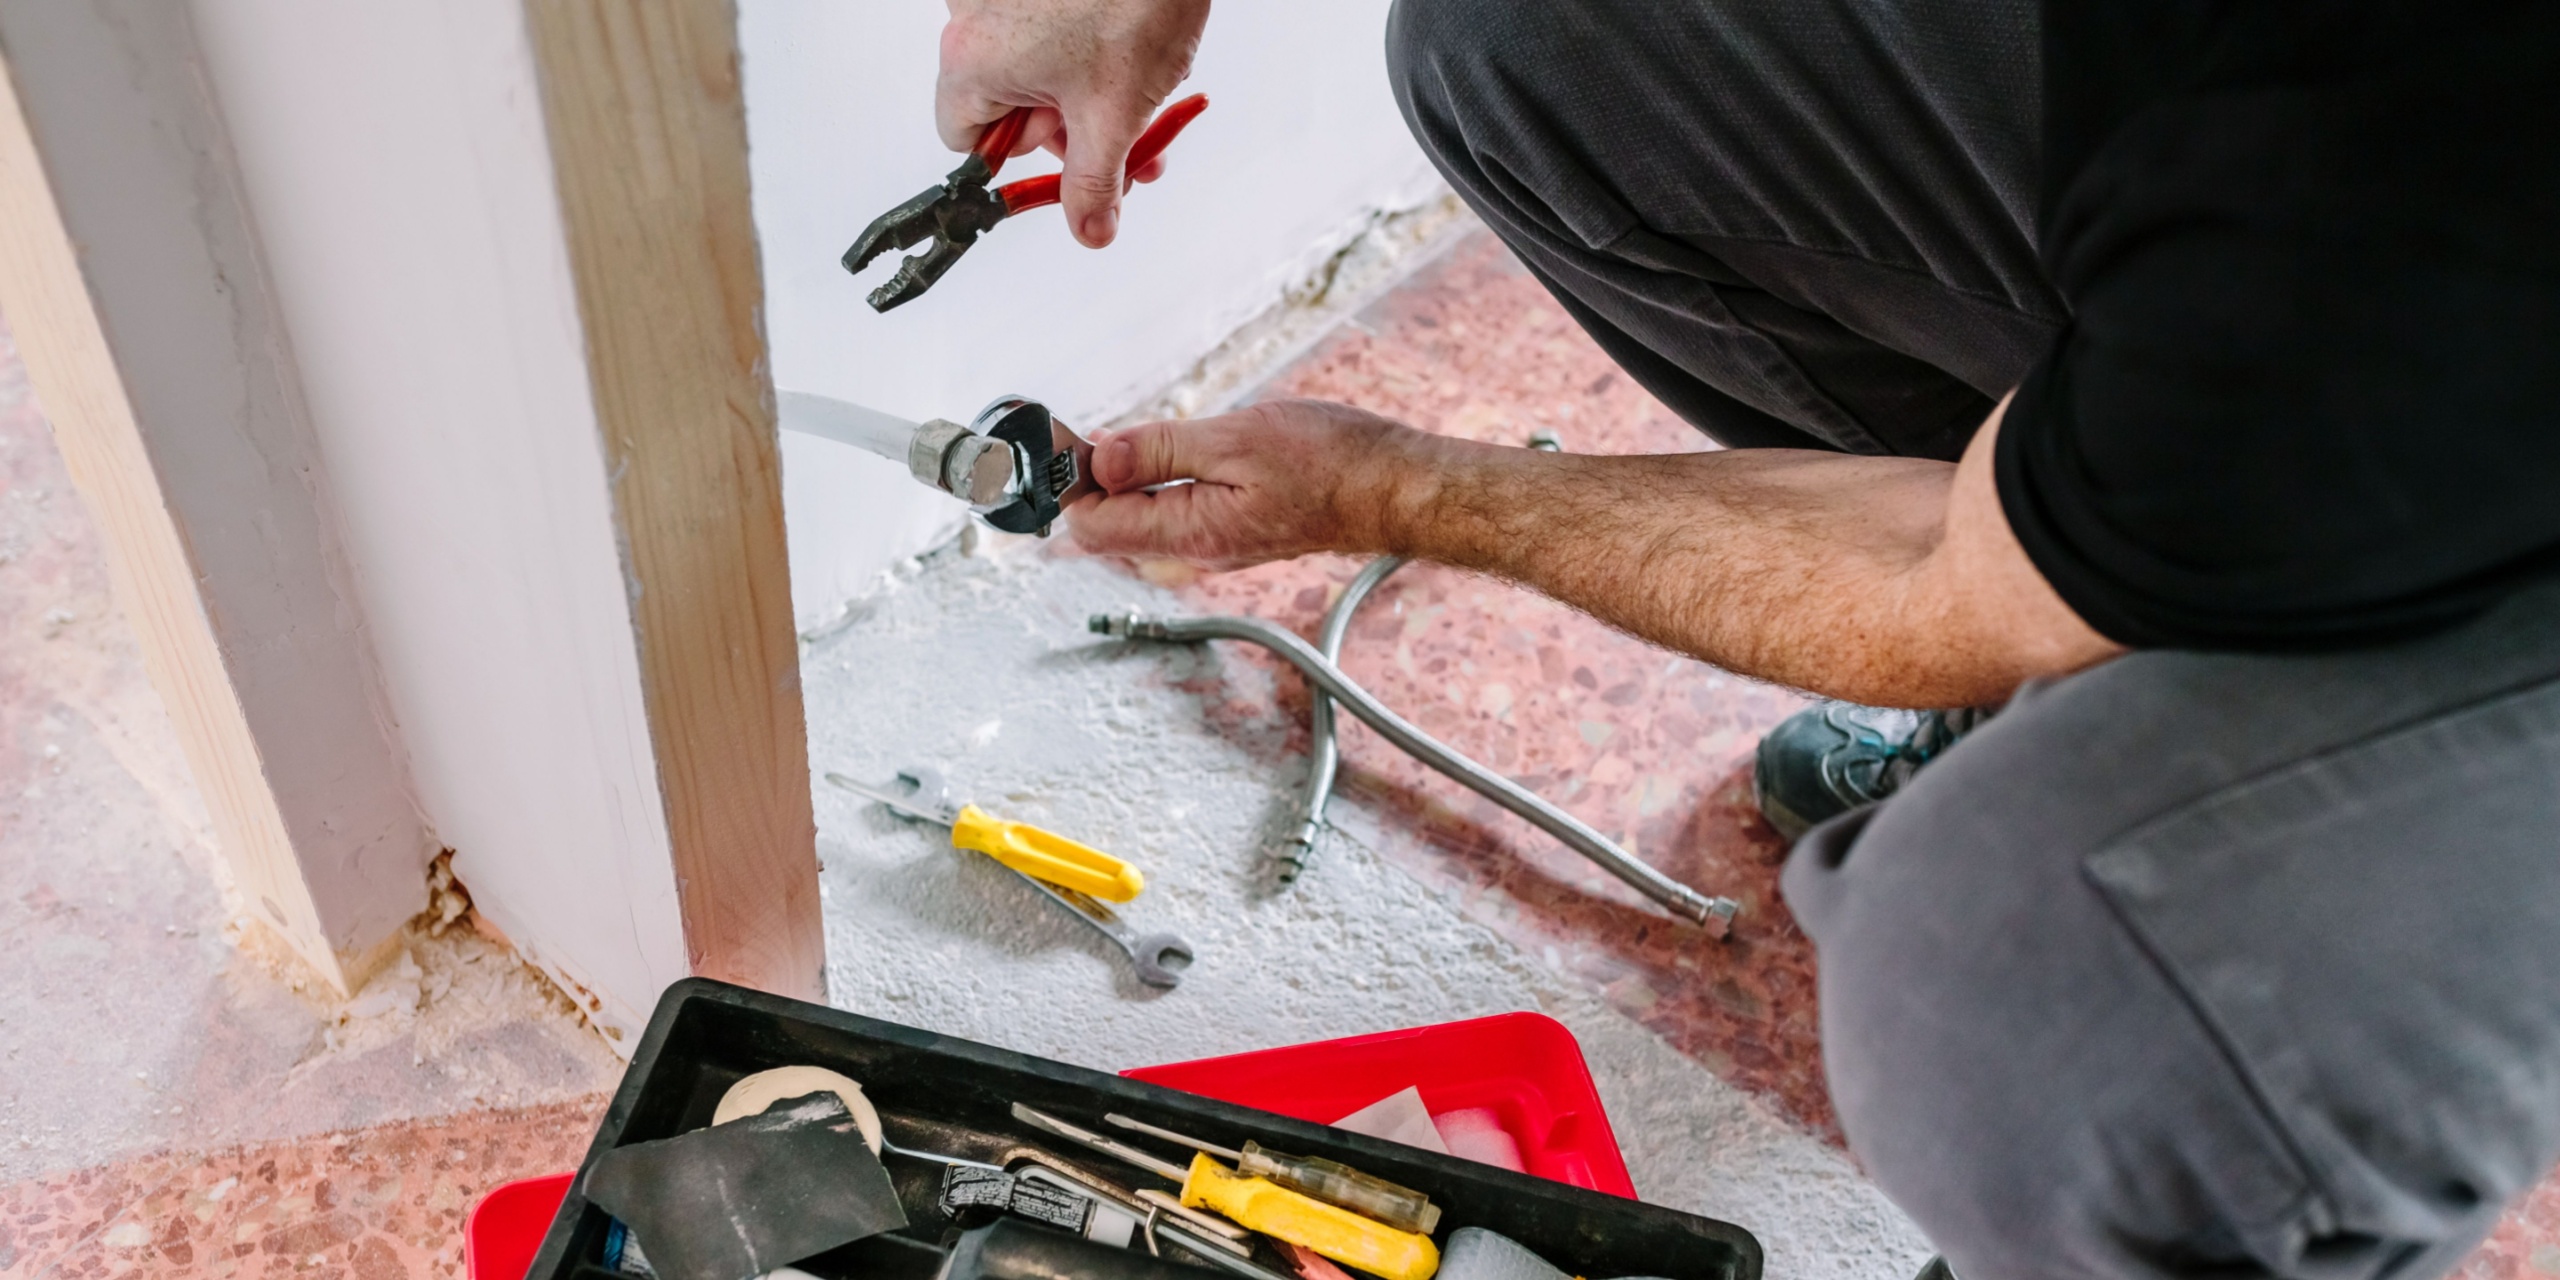
To begin, gather the necessary tools and materials. Having everything ready will make the process smoother. Here is a list of what you will need:
- Tile Cutter: For cutting tiles to fit edges and corners.
- Notched Trowel: To spread the adhesive evenly.
- Tile Spacers: To maintain consistent gaps between tiles.
- Level: To ensure tiles are laid evenly.
- Grout Float: For applying grout between tiles.
- Rubber Mallet: To gently tap tiles into place.
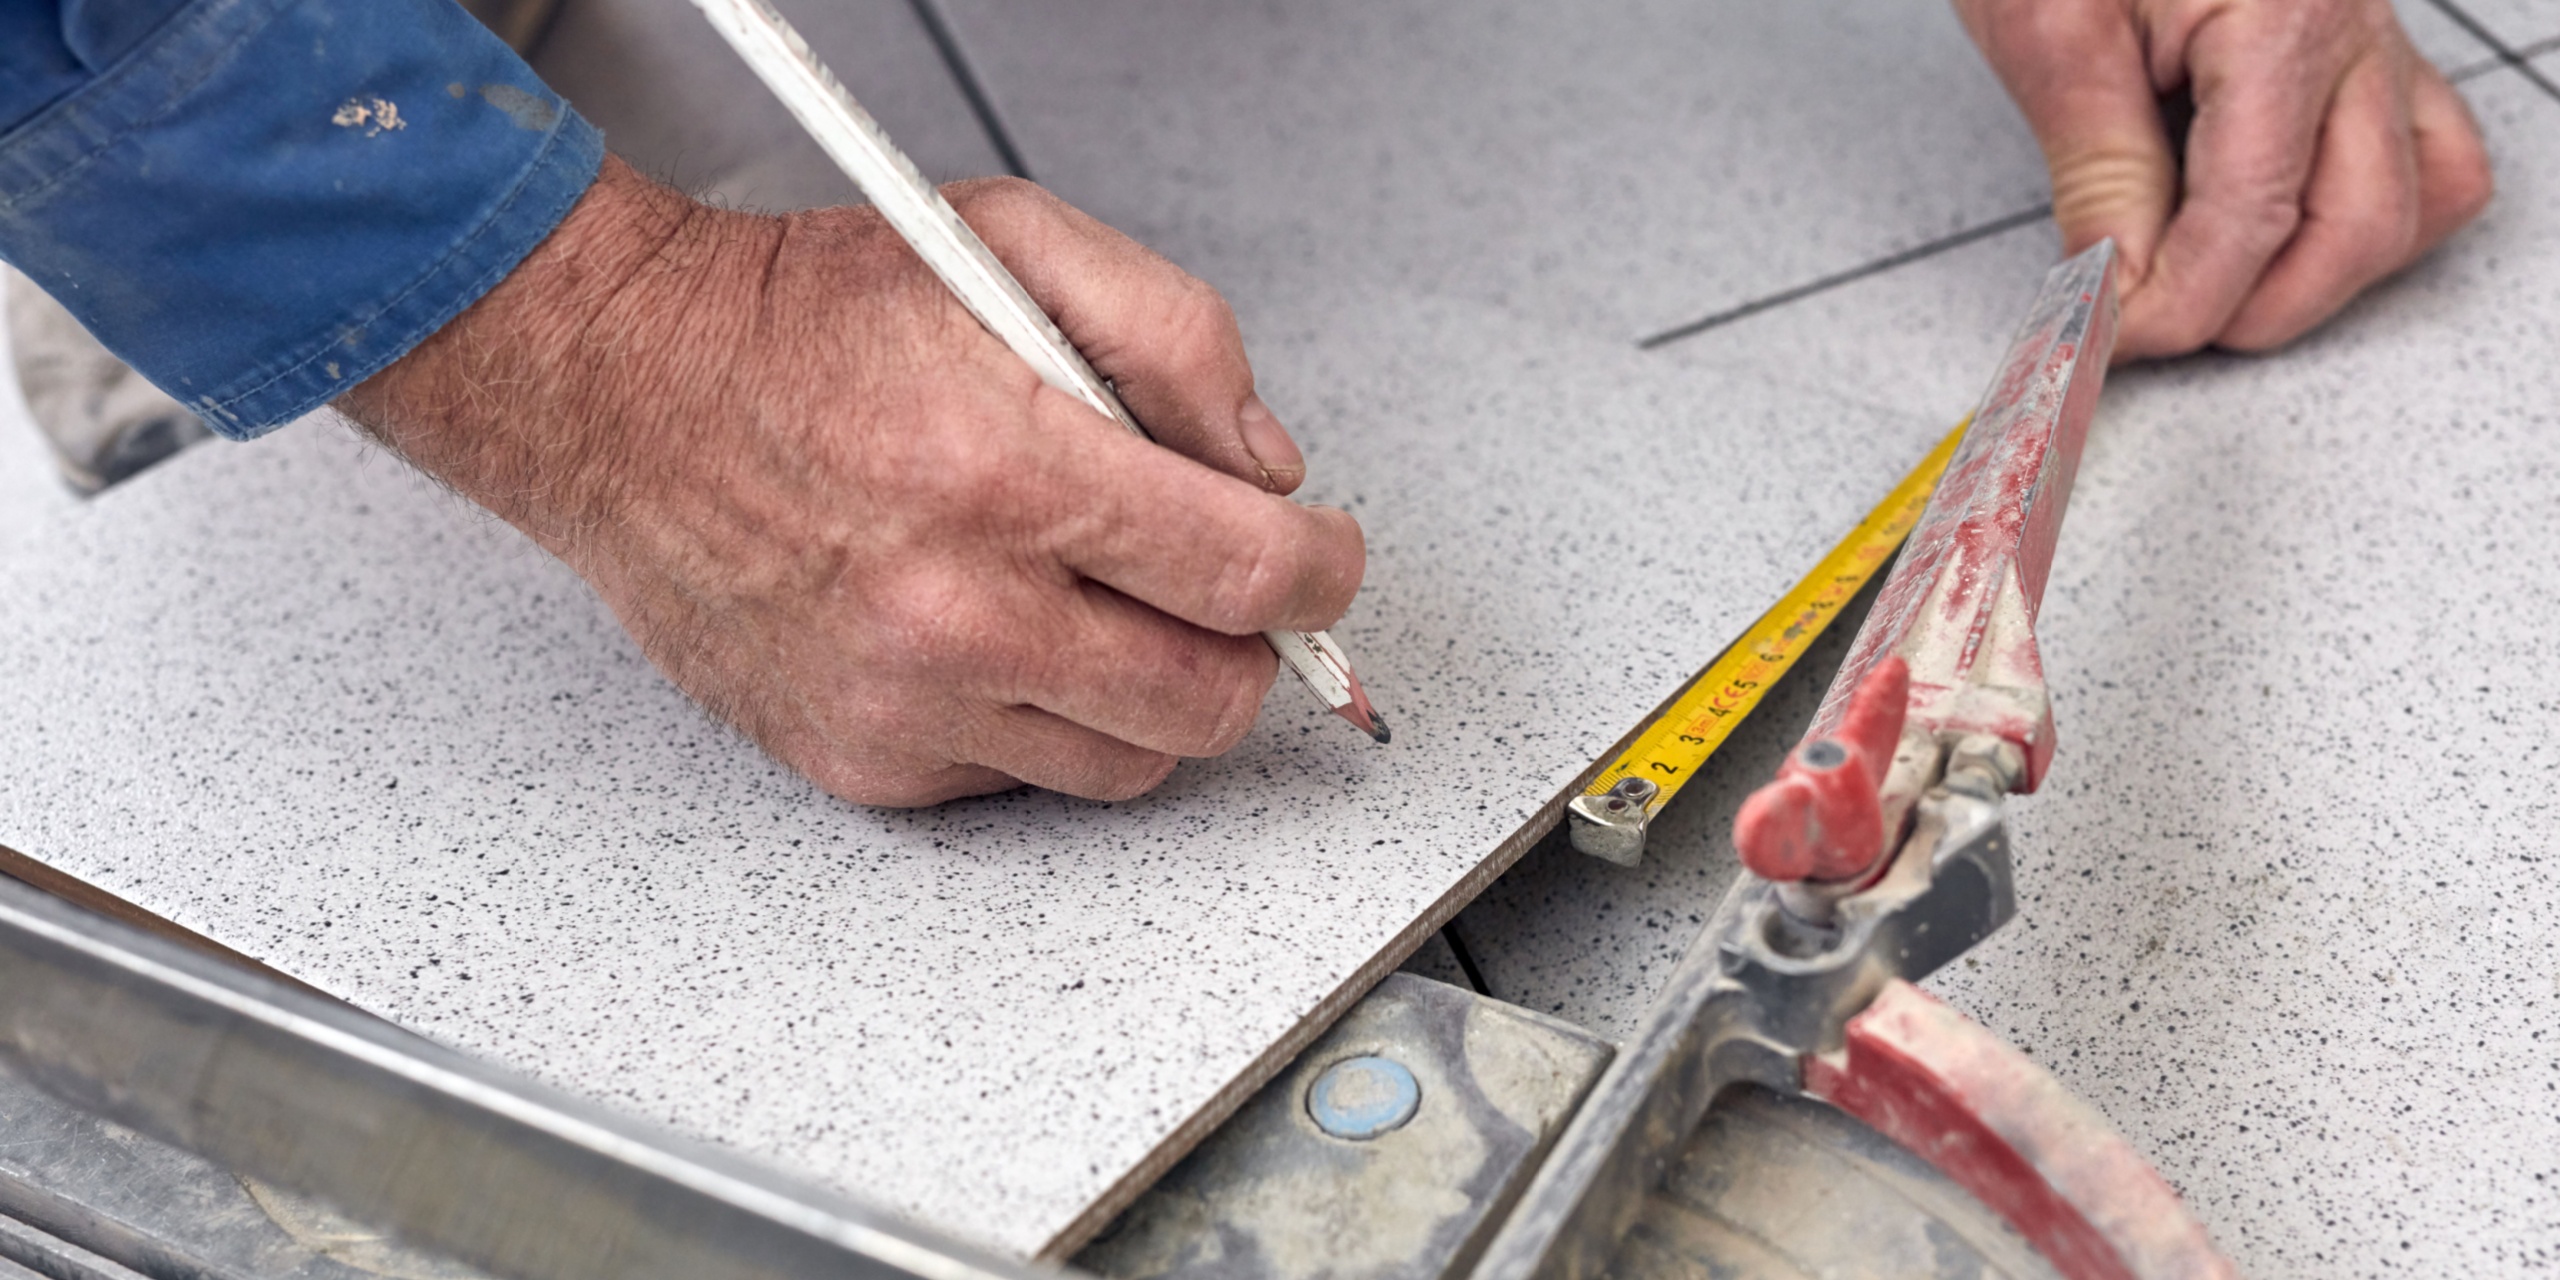
- Measuring Tape: To measure the floor area accurately.
Thus, ensuring you have these items will prepare you for the task ahead.
How to Tile a Floor for Beginners: Preparation Steps
Preparation is key when learning how to tile a floor for beginners. So, proper preparation will save you time and prevent mistakes. Here are the steps you should follow:
- Clean the Surface: First, ensure the floor is clean and free from dust and debris. A clean surface helps the tiles adhere better.
- Measure the Area: Measure the floor to determine how many tiles you will need. It is wise to purchase extra tiles to account for any mistakes or breakages.
- Plan the Layout: Lay out the tiles without adhesive to see how they fit. This step helps you visualise the final result and make any necessary adjustments.
- Cut the Tiles: Use a tile cutter to trim tiles that need to fit around edges or corners. Therefore, always wear safety goggles during this step to protect your eyes.
How to Tile a Floor for Beginners: Tiling the Floor
Now that you have prepared the area, it’s time to start tiling. This is the midpoint part of learning how to tile a floor for beginners.
- Apply the Adhesive: Using a notched trowel, spread tile adhesive on a small section of the floor. Work in small sections to prevent the adhesive from drying out.
- Place the Tiles: Begin placing the tiles on the adhesive. Press them firmly and use tile spacers to ensure even spacing between tiles.
- Check Alignment: Use a level to check that the tiles are even. Adjust as necessary to maintain a flat surface.
- Continue Tiling: Continue applying adhesive and placing tiles until the entire floor is covered. Remember to work in small sections and check alignment regularly.
- Let the Adhesive Set: Allow the adhesive to set according to the manufacturer’s instructions. This step is crucial for ensuring the tiles are securely attached.

How to Tile a Floor for Beginners: Grouting the Tiles
Once the adhesive has been set, the next step is grouting. Grouting fills the spaces between tiles and provides a finished look.
- Mix the Grout: Follow the manufacturer’s instructions to mix the grout. It should have a smooth, paste-like consistency.
- Apply the Grout: Use a rubber float to spread grout over the tiles, pressing it into the spaces between them. Work in small sections to ensure even coverage.
- Clean Excess Grout: After applying grout, use a damp sponge to wipe away excess grout from the tile surfaces. So, be careful not to remove grout from the spaces between tiles.
- Let the Grout Cure: Allow the grout to cure according to the manufacturer’s instructions. Thus, this step is important for the durability of your tiled floor.
Tips for Success in TIling a Floor
Tiling can be a rewarding DIY project if done correctly. Here are some additional tips to ensure success:
- Take Your Time: Rushing can lead to mistakes. Therefore, take your time to ensure each step is done correctly.
- Use Quality Materials: Investing in quality tiles and adhesive will result in a more durable and attractive floor.
- Follow Instructions: Always follow the manufacturer’s instructions for adhesive and grout. These guidelines are designed to ensure the best results.
Common Mistakes to Avoid in Tiling a Floor for Beginners
Even with careful planning, mistakes can happen. Here are some common pitfalls to watch out for:
- Skipping Surface Preparation: Failing to clean and prepare the surface can lead to tiles not adhering properly.
- Incorrect Adhesive Application: Applying too much or too little adhesive can cause tiles to shift or not stick.
- Ignoring Tile Alignment: Not checking alignment regularly can result in an uneven floor.
Conclusion
Learning how to tile a floor for beginners is a valuable skill that can transform your home. By following the steps outlined in this guide, you can achieve a professional-looking result. Thus, with patience and attention to detail, you will be able to tile your floor like a pro. Remember, preparation and quality materials are key to success. So, gather your tools, plan your layout, and start your tiling project with confidence.


